Strong real estate photography is the single most important factor in how buyers respond to a listing online. In 2026, the vast majority of home searches begin on the internet, and the photos attached to your listing are what stop a buyer mid-scroll or send them clicking to the next property. Whether you are shooting listings yourself or hiring a professional, understanding the fundamentals of composition, lighting, staging, and editing will help your properties stand out, attract more clicks, and generate stronger offers. This guide walks you through the full process, from assembling your gear to choosing the right editing tools, so you can approach every shoot with a clear, repeatable system.
Find It Fast
Key takeaways
- In 2026, listing photos are the number-one factor that determines whether a buyer clicks on your property or scrolls past it.
- You do not need the most expensive gear to get great results, but a DSLR (digital single-lens reflex) or mirrorless camera, a wide-angle lens, and a tripod form the foundation of every strong shoot.
- Shoot each property in both daylight and evening to capture natural light and the home’s warm, ambient glow.
- Stage every room with intention. Buyers need to picture themselves living in the space, not admire the current owner’s decor.
- Post-production should refine your images, not alter them. Over-editing is one of the most common mistakes and can misrepresent the property.
- If hiring a photographer, prioritize real estate experience, a strong portfolio, and clear communication about deliverables and revisions.
What you need to take the best real estate photos
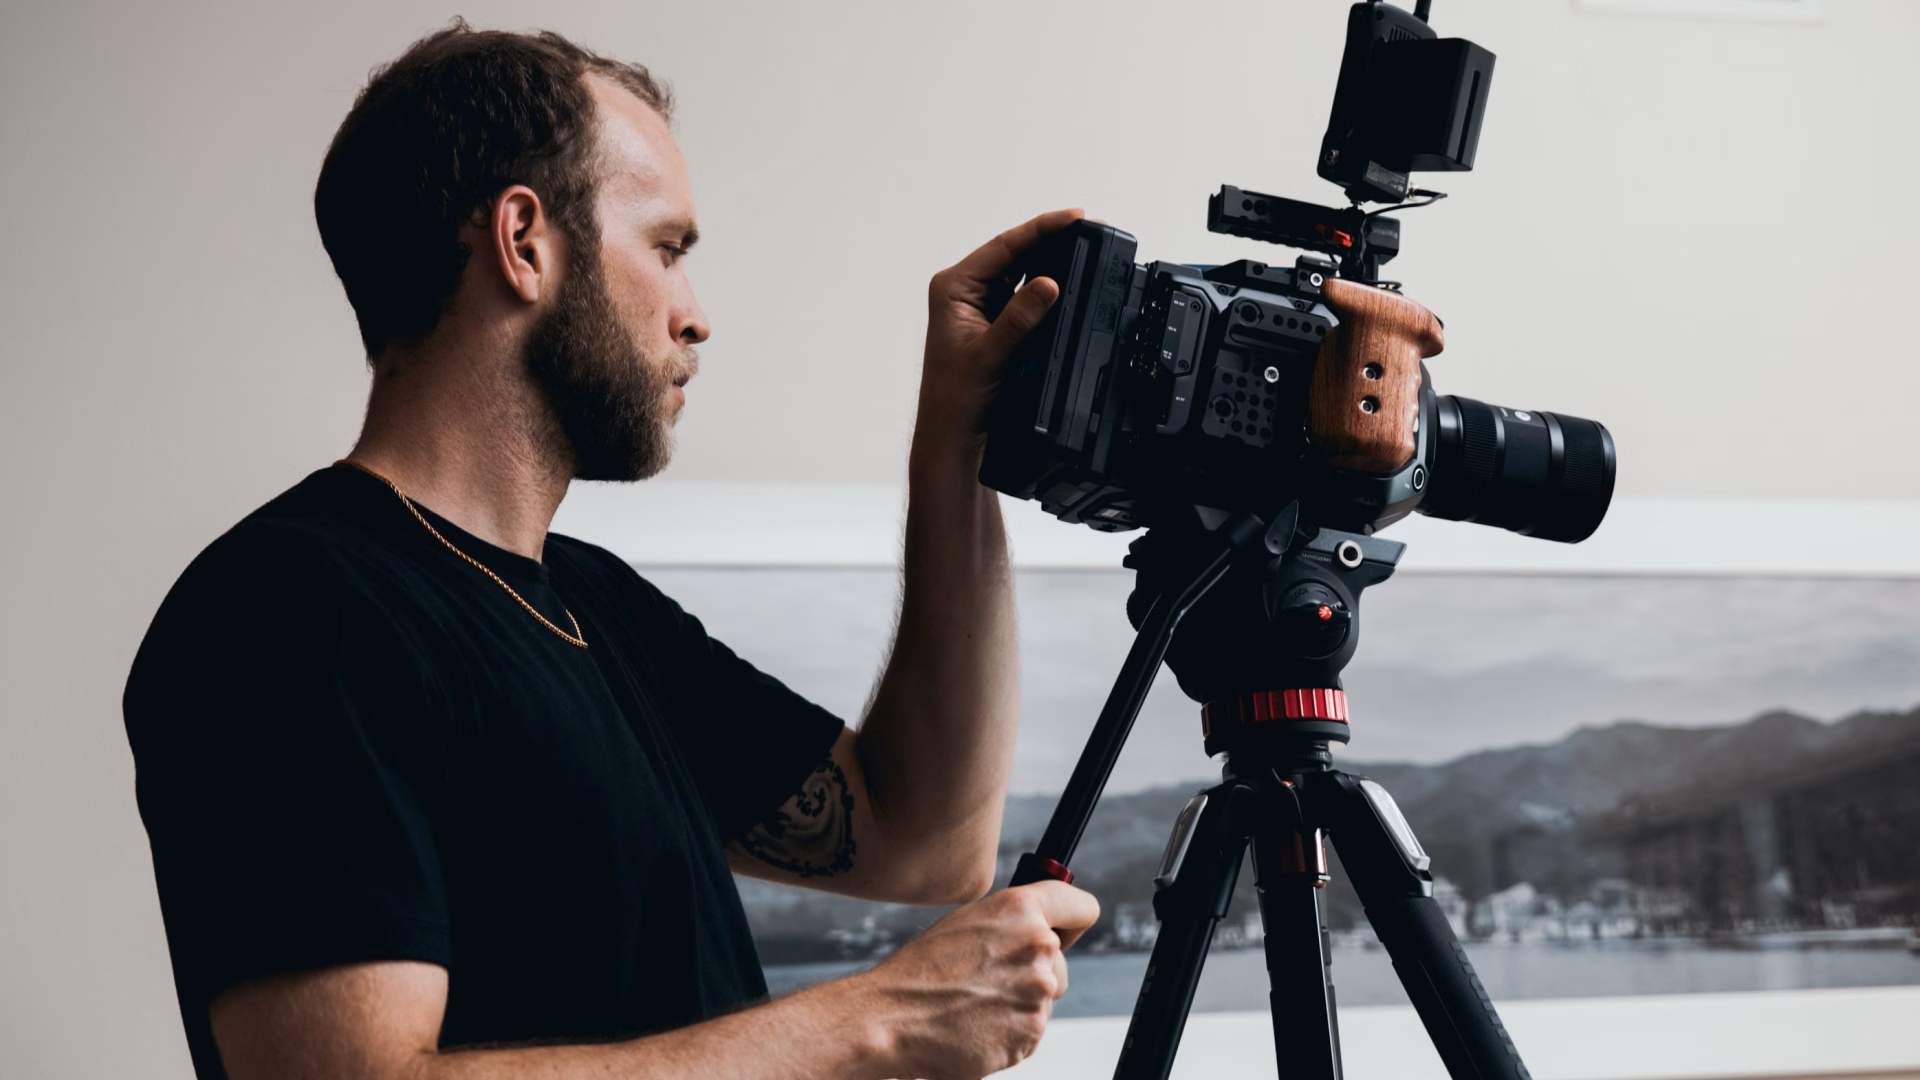
If you want to photograph your listings instead of hiring a professional, the right gear makes all the difference. You do not need to spend a fortune, but a few well-chosen tools will dramatically improve the quality of your real estate photos. Here are the basics.
- DSLR or mirrorless camera: A DSLR (digital single-lens reflex) or mirrorless camera delivers sharper images, higher resolution, and far more manual control over exposure and focus than a smartphone. If you are serious about shooting your own listings, this is the single best investment you can make.
- Wide-angle and macro lenses: The ability to swap lenses as you move from room to room gives you flexibility that a fixed lens cannot match. A wide-angle lens (typically 16mm to 24mm on a full-frame sensor) captures the full scope of a room while keeping distortion low and proportions accurate. A macro lens is ideal for close-up shots of design details like hardware, tile work, or custom finishes.
- Tripod: A sturdy tripod keeps your camera stable for sharper images, especially in low-light conditions or during the long exposures needed for sunset and twilight shots. It also helps you maintain consistent framing from shot to shot.
- Drone: Many buyers in 2026 expect aerial views of a property and its surroundings. Drones in real estate marketing capture perspectives that ground-level photography simply cannot. Keep in mind that commercial drone photography for real estate listings requires FAA Part 107 certification under current federal guidelines (FAA, 2026).
| Gear | Typical price range | Best for |
| DSLR or mirrorless camera (body only) | $800 to $2,500 | All interior and exterior listing shots |
| Wide-angle lens (16mm to 24mm) | $300 to $1,200 | Full-room shots with accurate proportions |
| Macro lens | $250 to $900 | Close-ups of finishes, fixtures, and details |
| Tripod | $75 to $300 | Stability, low-light shots, consistent framing |
| Drone (Part 107 certified pilot required) | $500 to $2,000 | Aerial and exterior property views |
How to take real estate photos in 2026
Great real estate listing photography follows a repeatable process. Once you have your gear ready, the next step is understanding how light, composition, and staging work together to make a property look its best.
How to shoot in daytime versus evening
Most listings benefit from photos taken during both parts of the day. Daytime photography relies on natural light: soft, diffused sunlight streaming through large windows brings out textures, colors, and architectural details. Open all blinds and curtains, turn off artificial overhead lights that cast yellow tones, and let the daylight do the work.
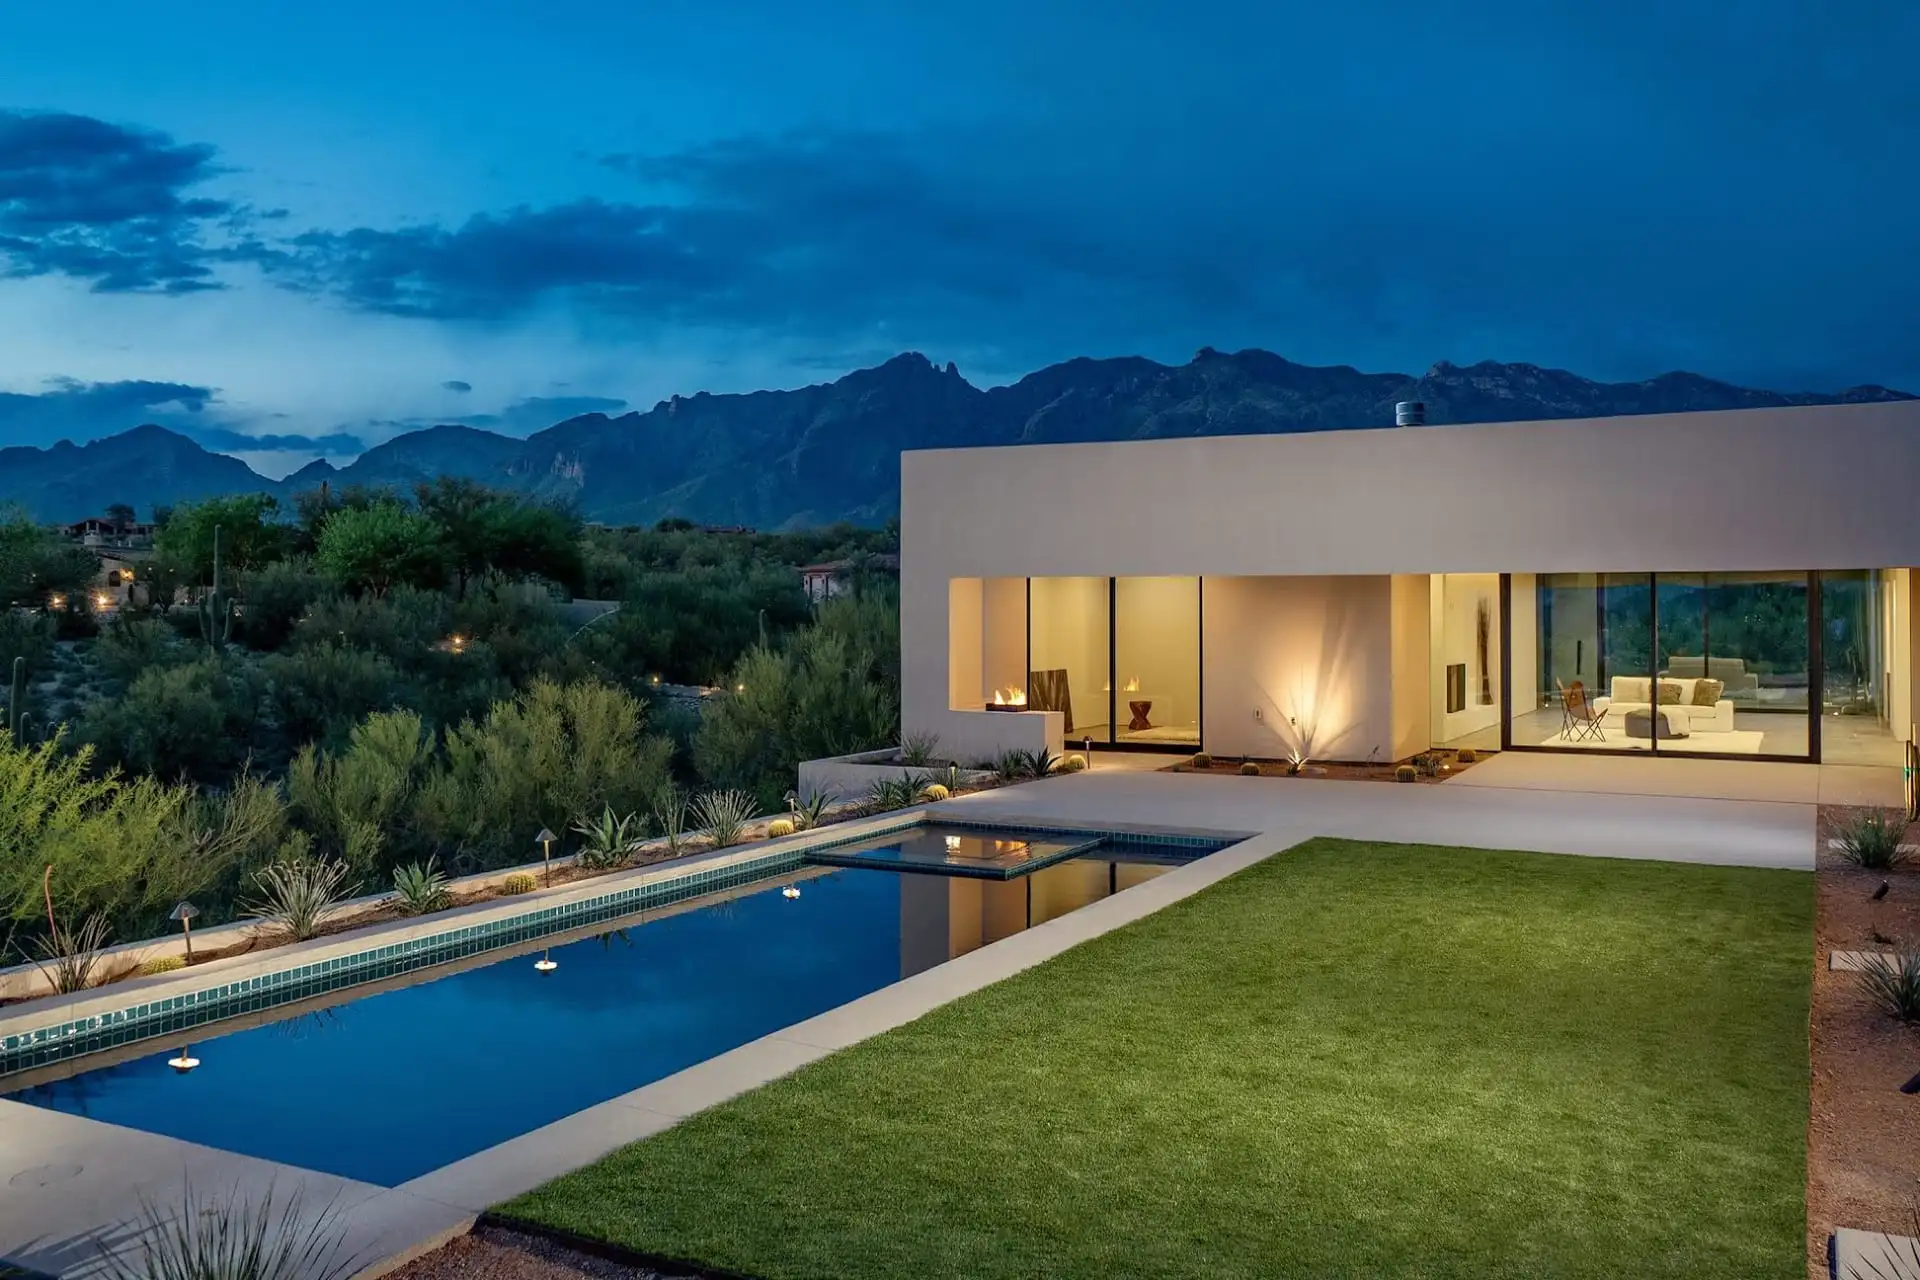
Evening or twilight photography lets you show off the home’s ambient lighting and creates a warm, inviting mood. For exteriors, turn on pathway lights, uplights, and any landscape lighting to highlight the property’s curb appeal after dark. Indoors, use warm, dimmed lighting in living spaces, dining areas, and bedrooms to create a cozy feeling that helps buyers picture themselves settling in for the night.
How to frame real estate photos
You do not need a degree in photography to use a few composition techniques that make a real difference. The rule of thirds divides your frame into a 3×3 grid using two vertical and two horizontal lines. Placing key elements along those lines or at their intersections creates a balanced, visually appealing image.
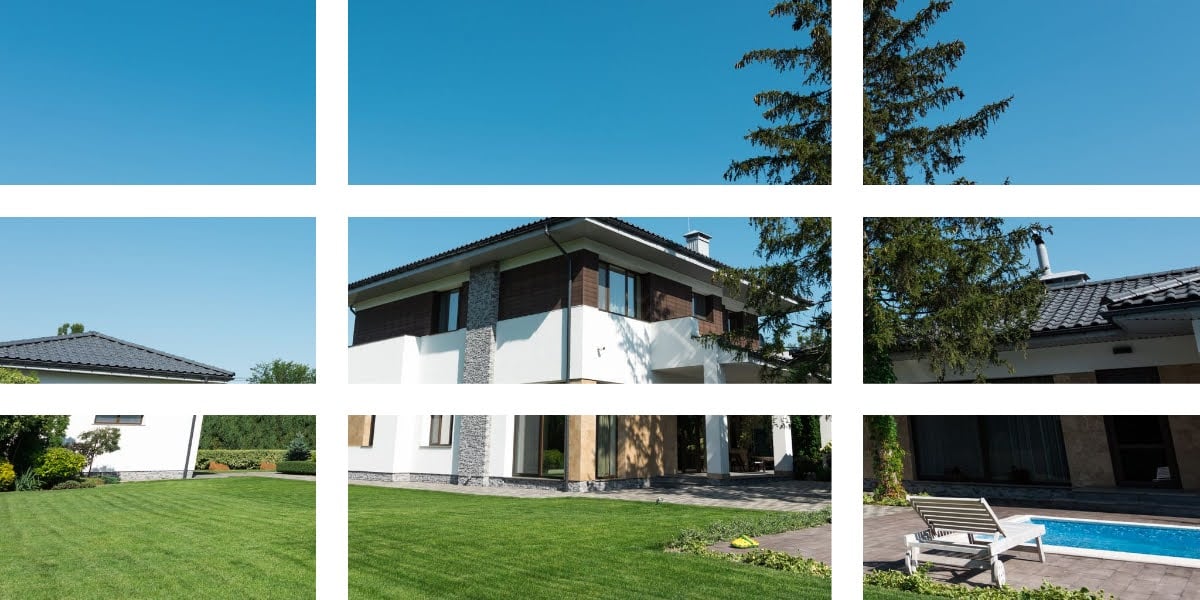
When photographing panoramas, align the horizon with one of the horizontal grid lines to balance sky and landscape. In interiors, place prominent architectural elements like staircases or fireplaces along these lines for added visual harmony.
Look for elements within the home, such as doorways, arches, or windows, to create a frame within the photograph. This technique draws the viewer’s eye to the main subject and adds depth to the image. Do not be afraid to experiment. Play around with angles and adapt these tips to suit the specific property and the effect you want to create.
How to stage real estate photos

Staging is where photography and marketing meet. A well-staged room tells a story: it helps buyers imagine cooking dinner in the kitchen, reading by the fireplace, or hosting friends on the patio. The goal is not to showcase the current owner’s taste but to create a neutral, aspirational canvas that appeals to the widest range of buyers.
That mindset should guide every staging decision you make. If a room feels cluttered, remove items until the space breathes. If a room is empty, consider bringing in furniture so buyers can understand the scale and function of the space. For higher-end listings and unfurnished homes, working with a professional stager or interior designer is well worth the investment. They understand furniture selection, color palettes, and current design trends that photograph well and resonate with buyers.
If you are working with a furnished home, focus on decluttering surfaces, removing personal photos, and adding a few simple touches: fresh flowers on the dining table, a neatly folded throw on the sofa, or a set of white towels in the bathroom. Small details like these photograph beautifully and signal care.
A room-by-room guide to real estate photography
Think about what a buyer wants to do in each space. Relax, host guests, cook a family meal, or work from home? Let your room-by-room photos answer those questions.
Entrance and exterior
- Take wide shots that capture the full breadth of the property and its curb appeal
- Showcase the architecture of the home, including rooflines, columns, and entryways
- Include landscape features such as a well-maintained garden, mature trees, or a stone walkway
Living room
- Highlight the room’s standout features, such as fireplaces, built-in shelving, or views
- Use wide-angle shots to convey the room’s dimensions without distorting proportions
- Shoot from a corner at chest height to capture the most flattering perspective
Kitchen
- Show high-end appliances, countertop materials, and storage space
- Use a wide shot to include all the details, from counter space to lighting fixtures
- Include close-ups of designer fixtures or appliances that will be included in the sale
Dining room
- Use a wide shot to capture the size of the dining area and its relationship to adjacent rooms
- Take close-ups of fixtures such as chandeliers and built-ins
- Consider staging the table to show the room’s potential for entertaining
Bedrooms
- Capture the entire room from a corner to show size and layout
- Stage the bed with neutral, clean linens and minimal accessories
- Showcase features such as walk-in closets or en-suite bathrooms
Bathrooms
- Make sure every surface is spotless and fixtures are gleaming before you shoot
- Highlight spa tubs, rain showers, marble tiles, and custom vanities
- Use mirrors and lighting to make the room look spacious and airy
Home office
- Include detailed photos of any built-in shelving or desk space
- Arrange the office neatly and make sure cables and equipment are hidden
- If the room is a flex space, consider staging it in more than one way: a reading nook, yoga studio, or playroom
Gym, spa, and swimming pool
- Emphasize any gym equipment, spa features, and pool design
- Stage the space with a yoga mat rolled out or fresh towels by the spa
Outdoor spaces
- Take wide shots of the backyard, garden, patio, and balcony, emphasizing space and layout
- Highlight outdoor features like a built-in grill, fire pit, water feature, or garden installation
- Photograph these areas during the golden hour (the period of soft, warm light just after sunrise or before sunset) for the most flattering color and shadow
How to edit your real estate photos in 2026
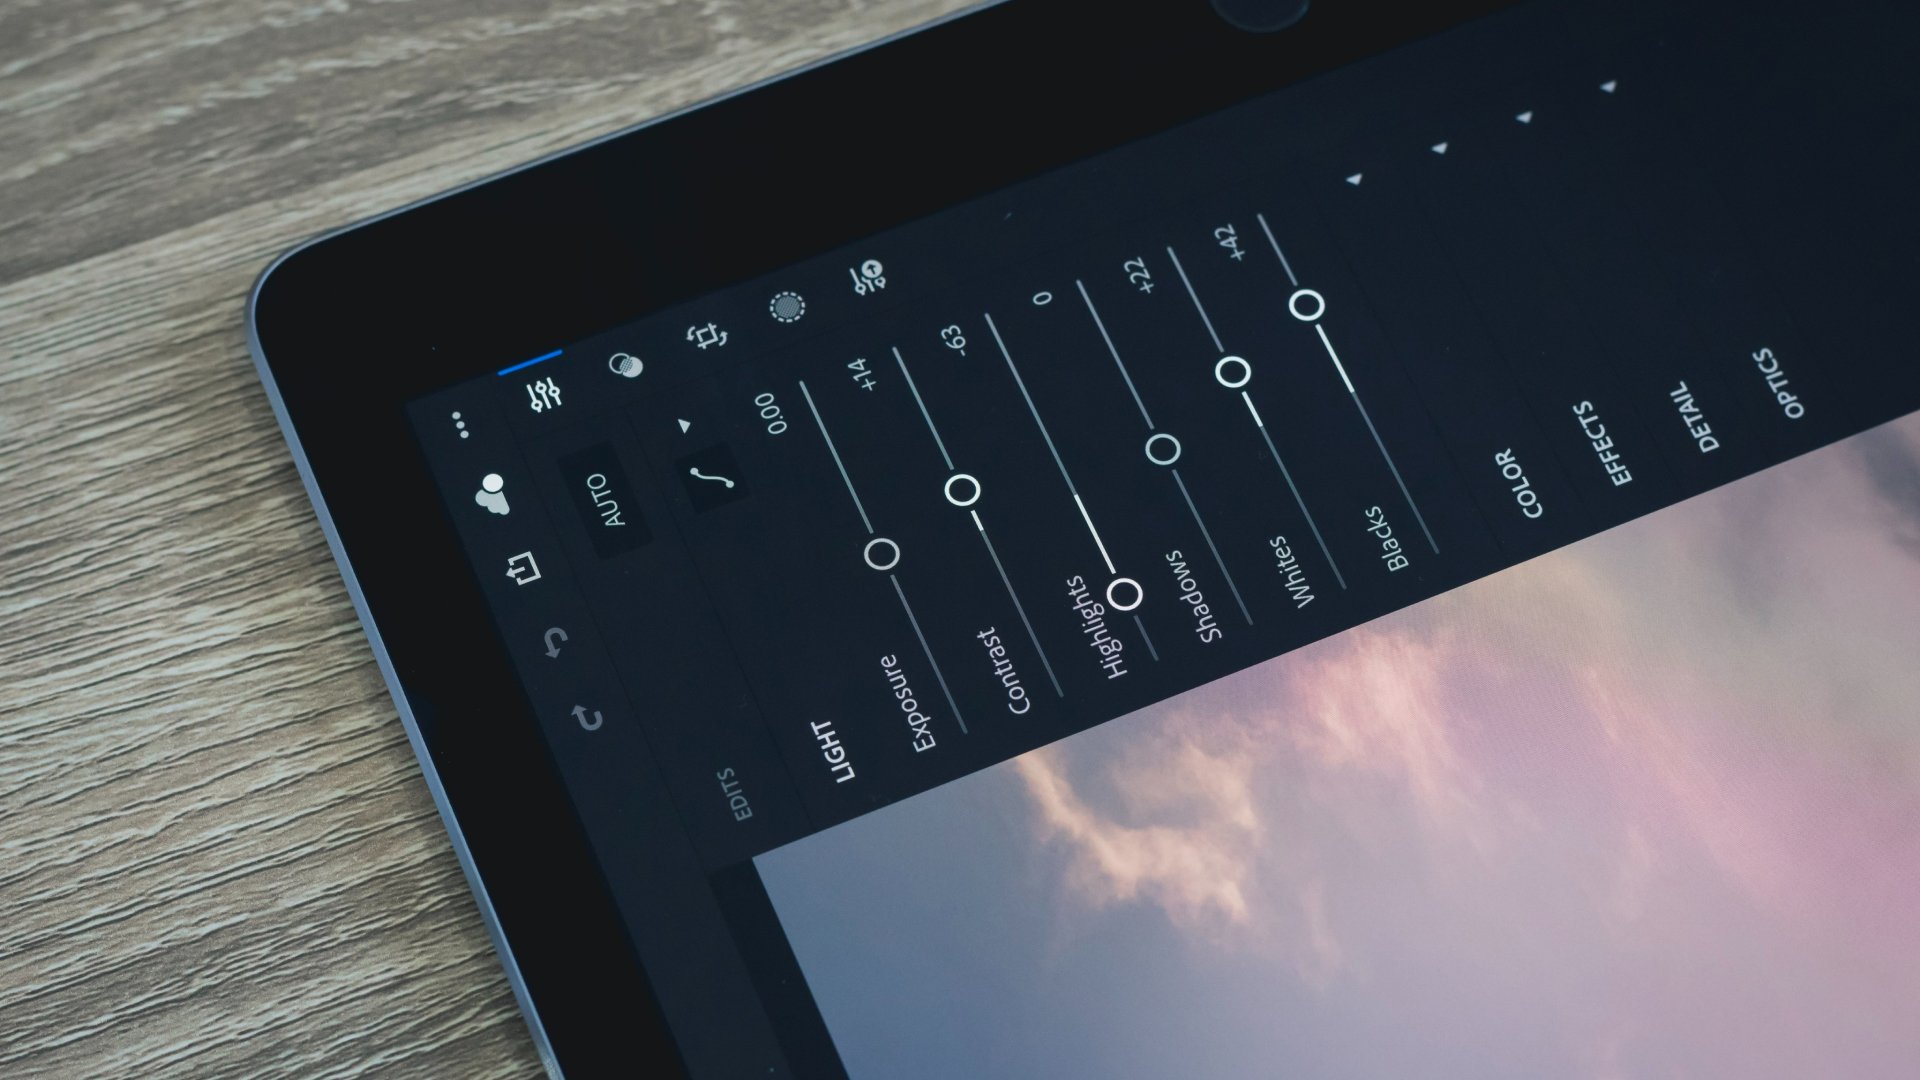
The difference between a good listing photo and a great one often comes down to post-production. Editing lets you balance color, adjust contrast, crop for better composition, and refine details that the camera did not capture perfectly. The goal is to make the photo look the way the room actually felt in person, not to create a version of the property that does not exist.
Software and editing tools
As of 2026, these are the most widely used and actively maintained tools for editing real estate photos.
- Adobe Lightroom: A go-to for real estate photographers, offering non-destructive color correction, exposure adjustment, lens profile corrections, and batch processing that lets you apply the same edits across an entire shoot.
- Adobe Photoshop: Best for complex edits such as removing unwanted objects, blending multiple exposures into a single image, and advanced retouching of specific areas.
- Photomatix Pro: Specializes in creating HDR (high dynamic range) images by merging multiple exposures, which is ideal for balancing bright windows against darker interiors in real estate shots.
- DxO PhotoLab: Known for its DeepPRIME denoising technology, which removes grain and discoloration from images shot in low light, along with automatic lens and optical corrections.
- Luminar Neo: Skylum’s current-generation editing platform, which includes tools for sky replacement, structure enhancement, relighting interiors, and dedicated aerial and drone photo editing workflows.
- PTGui: Stitches together panoramic images for virtual tours and 360-degree views of rooms and outdoor spaces.
- Canva: Useful for creating photo collages, adding text overlays for social media, or designing listing flyers and marketing materials from your finished photos.
- PicMonkey: A browser-based editor with templates and quick-edit tools suited for agents who need fast turnaround on social media graphics.
Learning how to take real estate photos and use post-production tools takes practice. Look for options with free trials so you can test the workflow before committing, and give yourself time to explore each tool’s features.
Using AI to edit real estate photos
AI-powered editing tools have become a standard part of the real estate photo editing workflow in 2026. These tools can automatically adjust lighting, correct color casts, and virtually stage empty rooms with furniture and decor that appeals to a property’s target buyer.
Some platforms also analyze multiple images from a shoot and recommend the strongest angles and compositions. Others can remove distractions like clutter or overcast skies and replace them with clean, inviting environments. A few even offer augmented reality features that let buyers visualize renovations directly from the listing photos.
As with other tools like virtual staging, accuracy matters. Make sure every edited photo still represents the property honestly. You may want to add disclosures so buyers understand your real estate photography in context.
Common post-production mistakes to avoid
Buyers can often tell when a photo has been over-processed. If you find yourself making more than a couple of adjustments to a single image, it may not be the right photo to include. Post-production should refine your images, not reinvent them.
Start with the strongest possible images from your shoot and use editing as the final step. Here are the most common mistakes to watch for:
- Over-editing that makes rooms look artificial
- Inconsistent white balance across photos from the same property
- Oversaturated colors that do not match the actual room
- Excessive HDR processing that creates an unnatural halo effect
- Uncorrected wide-angle lens distortion that warps walls and doorframes
- Removing all shadows, which flattens the image and eliminates depth
- Starting with low-quality source images that no amount of editing can fix
- Inconsistent editing style from photo to photo within the same listing
- Misrepresenting the property by altering room sizes, views, or finishes
- Not backing up original files before editing
- Rushing through edits instead of reviewing each image at full resolution
How to choose a professional real estate photographer
The photos on your real estate agent website shape how buyers and sellers perceive your brand. Even if you are a capable photographer, hiring a professional for your listings can save you hours per property and deliver a level of polish that builds trust with clients.
That trust starts with the images attached to every listing. Here is what to look for when choosing a photographer.
- Portfolio and experience: Find someone whose work impresses you, but make sure they have specific experience with property photography. A portfolio full of wedding or event photos does not translate to the skills needed for real estate listing photography.
- Understanding of the property type: If you sell higher-end homes, your photographer needs to know how to capture upscale amenities, fine architectural details, and the overall feel of a luxury property. Ask to see examples that match the caliber of your listings.
- Equipment and technical skill: A professional should own a DSLR or mirrorless camera, multiple lenses, a tripod, and lighting equipment. Ask about their post-production process and how many revisions are included in their package price.
- Communication and reliability: Choose someone who is responsive, shows up on time, and understands the creative direction you want for each listing. Clear communication before the shoot prevents surprises after.
- Reviews and referrals: Ask other agents in your market who they use. Online reviews and direct referrals give you honest insight into a photographer’s work quality and professionalism.
- Pricing and ROI (return on investment): As with any professional service, the price should reflect the quality of the work. A $150 shoot and a $500 shoot will produce very different results. Think of the cost relative to the listing price and the impression those photos will make on every buyer who sees them.
Bringing It All Together for Better Listing Photos
Strong real estate photography comes down to a simple formula: use the right gear, make the most of natural and evening light, stage each space with intention, and edit with restraint. When you approach every shoot with a clear process, your photos will feel more polished, more consistent, and more likely to earn buyer attention. Whether you are photographing homes yourself or hiring a pro, the goal is the same: present the property honestly and in its best possible light.
FAQs
Let’s chat
Choosing your website provider is a big decision, and you probably have questions.
About the author
Kate Evans is a content marketing strategist at Luxury Presence, the leading growth platform for high-performing real estate professionals. She develops data-driven editorial content and supports SEO strategy and brand voice frameworks that help agents attract qualified leads and establish market authority. Her published work covers topics including CRM strategy, social media marketing, and digital growth, supporting thousands of agents in scaling their businesses through modern marketing.